SUN PRINTING with fforest
Sun printing, also known as cyanotype, or ‘blueprinting’, is a wonderful way to capture the summer sunshine and make botanical prints of your favourite flowers, leaves, seeds and foliage. Using sunlight or UV light to develop a chemically treated paper is the oldest photographic printing process. It was invented in 1842 by Sir John Herschel and later refined by botanist Anna Atkins who used the light-sensitive paper to reproduce simple one-colour images of her favourite plant specimens to make cyanotype books documenting her botanical finds. As a result, she is regarded as the first female photographer. A local photographer, friend and contributor to events at fforest, Kate Dunwell, taught us how to print with the sun and this is the way we do it.
Method
Prepare the paper. It doesn’t matter what kind of watercolour paper you use, as long as it’s uncoated. You don’t want any chemicals in the paper to mix with the chemicals you’re using for the cyanotype process.
Make the solution. Pre-mix and dissolve separately each of the two chemicals listed below in 100ml (31 ∕2 fl oz) of distilled water. Both chemicals, which are readily available online, are iron salts. When exposed to ultraviolet light they are reduced to their ferrous state, producing a high contrast blue image.
25g (1oz) ferric ammonium citrate (green).
10g (1 ∕4 oz) potassium ferricyanide.
Store these solutions separately until needed.
When you want to print, make the active solution by mixing equal quantities of both solutions. Do this very carefully; you don’t want it to spill as stains won’t come out. The shelf life of this solution is a lot shorter than that of the two separate ones.
Paint or sponge the solution evenly onto the paper in a room with no sunlight at all. The process is sensitive to UV light only, so at night, after dark, it’s perfectly safe to have the lights on. There’s no need for safe lights.
After coating, let the paper dry for at least 24 hours in a really dark place with no daylight. An airing cupboard is good. When the paper is dry, keep it in a black ‘light proof’ bag so it doesn’t get exposed to any light at all before you need it.
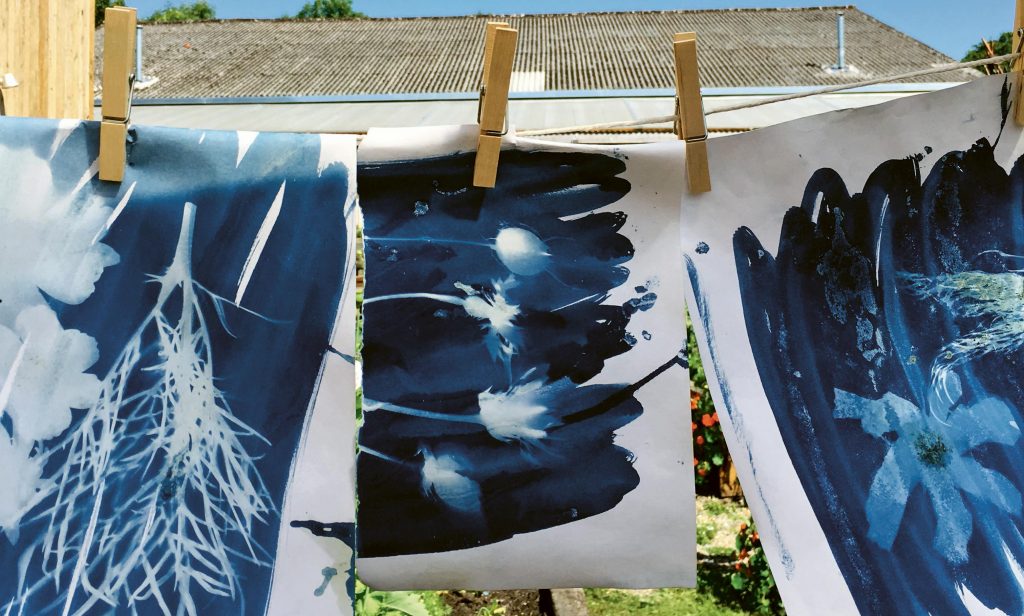
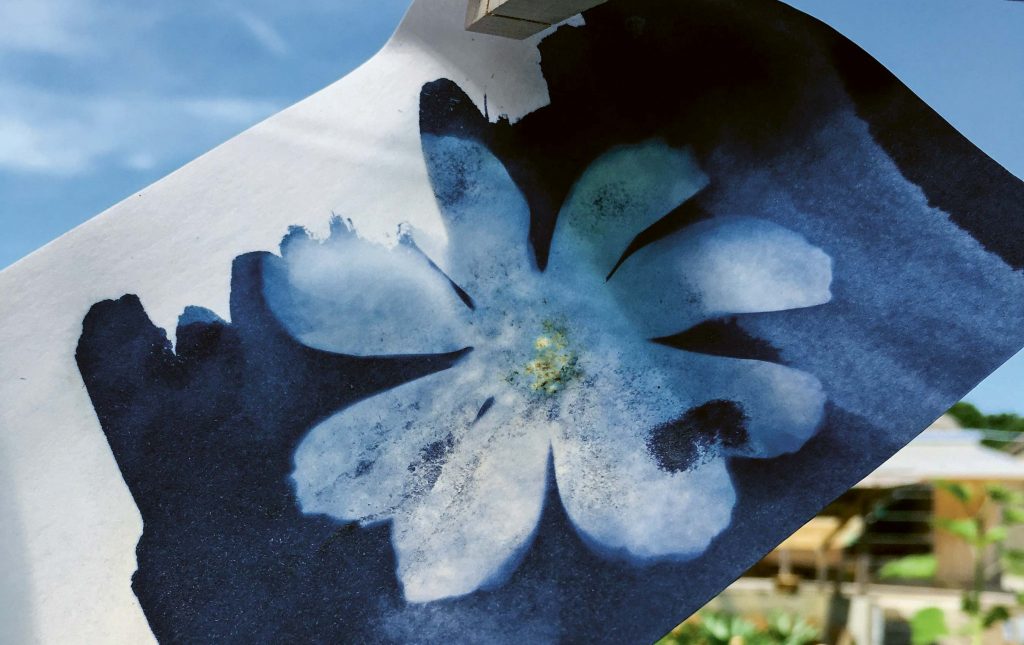
Negative or positive images are made by blocking UV light from reaching the sensitised paper to create the picture. To do this, place a leaf, flower, seaweed, paper-cut design or whatever you want on the prepared paper and expose it to sunlight for 10–15 minutes, depending how strong the sun is. If you place a piece of glass over the top while you are exposing, this stops the leaf blowing away and helps to keep a sharper edge. Rinse the paper in a bath of cold tap water for at least 30 seconds to completely wash off all the solution. The print will keep on developing for some time during and after washing, so don’t worry if your pattern looks as if it is disappearing. The paper will retain the image of the leaf after it has been rinsed.
Hang the paper up to dry in the wind and the sunshine. The areas that were exposed to the sun will turn from a muddy green to a beautiful shade of Prussian blue. Those that were covered by the leaf will stay paper-white.
Project extracted from fforest by Sian Tucker