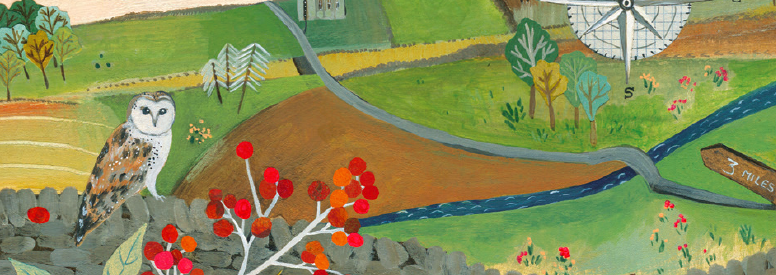
HOW TO MAP YOUR WALKS

The blank pages provide space to create maps of some of your walks.
They might be big, day-long walks or little jaunts around your local area: as long as you see something worth recording, the walks are worth mapping. The point of creating your own maps is not to make proper, to-scale, orienteering-standard maps, but to produce creative, personal and beautiful mementos of your time spent walking. These will jog your memory should you want to do the same walk again, or will simply be enjoyable to look back on. You could just make a rough sketch or get out the colouring pencils and create a thing of beauty.
1. Create your own legend for the map. What features did you see and
which are you likely to want to include? You might want to make use of the symbols opposite or you might prefer to make up your own. As well as bridges, viewpoints and level crossings, you could mark in a magnolia that’s in spectacular flower, a sea of bluebells or the spot where you saw a butterfly.
2. Sketch out your route, referring to a map for this or doing it from memory. Accuracy is not essential. Draw in nearby roads and railway lines and other major features that will help you orient.
3. Create a scale – this is possibly tricky and certainly optional, but even a rough idea will be useful to look back on.
4. Orient your map using the compass space provided.
5. Mark in the principal features of the walk using the symbols from your legend.
6. Fill in areas of housing, woodland and meadow, and then colour in everything to complete your map.


